Launching campaigns is easy.
Click Campaigns from the top navigation menu.

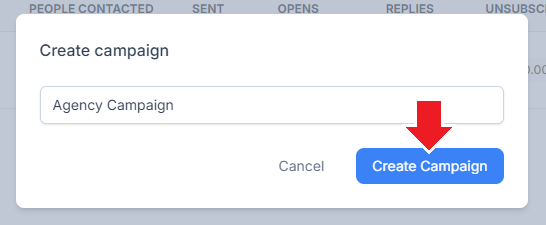
Click Create Campaign

Enter a name and click Create Campaign . This will create a campaign in a Draft state.
There are 6 steps towards launching a campaign:
Add contacts
Create emailing sequence
Create schedule
Update and confirm settings
Add sender email accounts
Launch
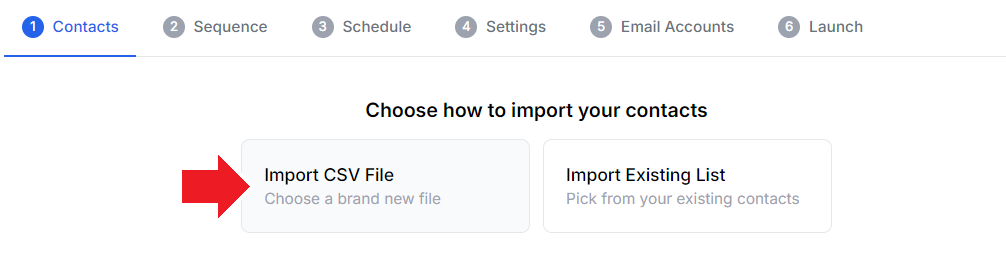
Click Import CSV File
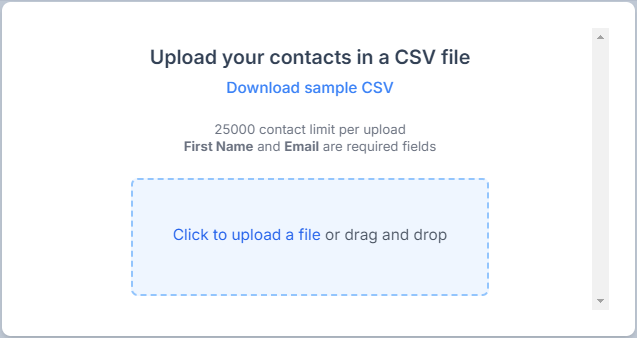
Attach a CSV file with the contacts you wish to add. You may download the sample CSV file to view the acceptable format.
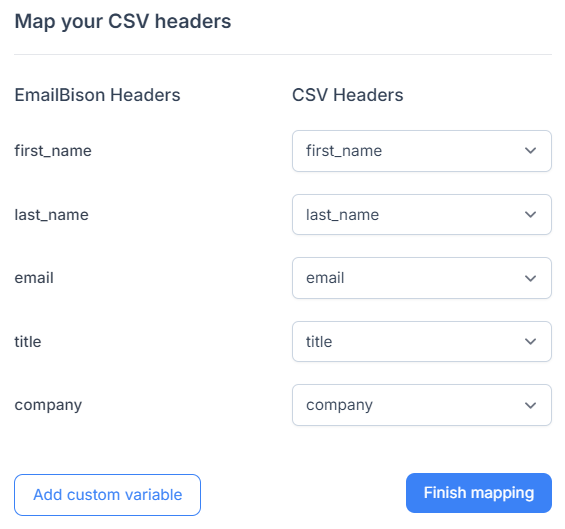
Select contact information headers and click Finish mapping
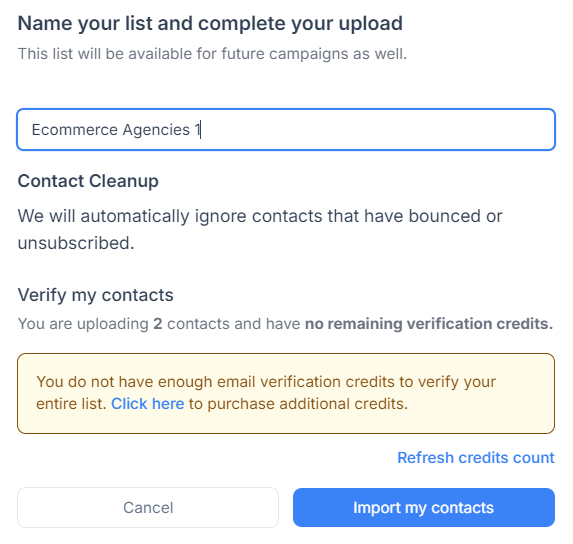
Name your contact list and click Import my contacts
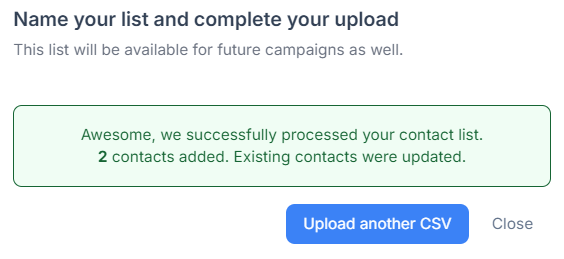
If successful, all eligible contacts will be added.

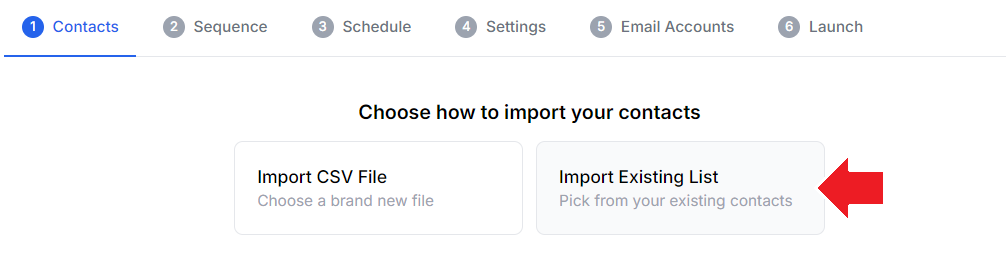
Click Import Existing List
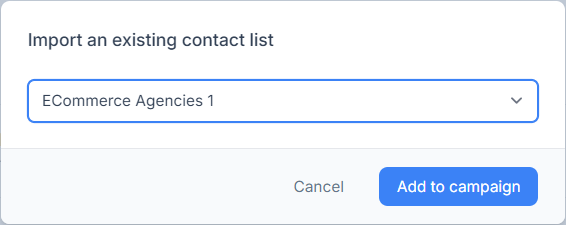
Select an existing contact list and click Add to campaign
If successful, all contacts will be added.
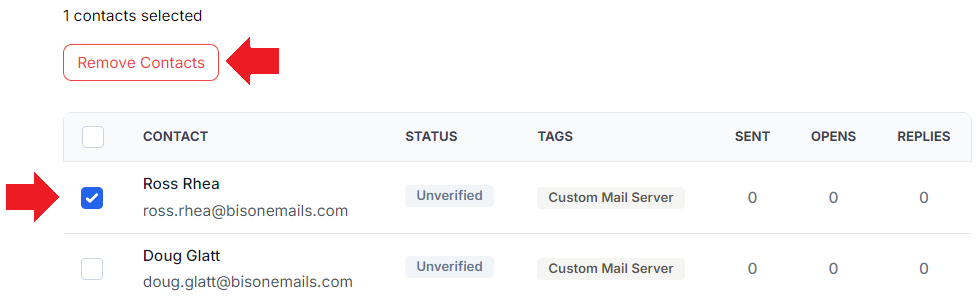
To remove contacts, select them and click Remove Contacts .
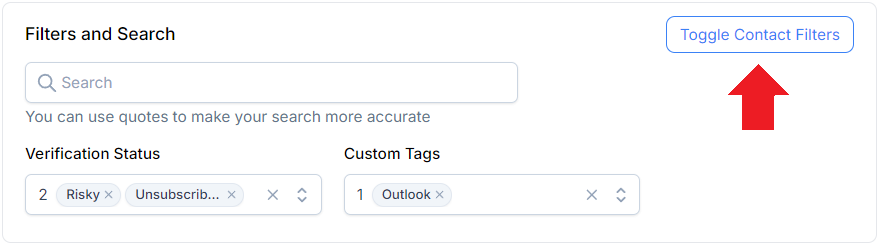
To remove contacts based on filters, click Toggle Contact Filters to narrow your search first. This is useful if you wish to target subsets of your contacts in a campaign, without creating a new contact list.
Click Create sequence from scratch.

Write the copy for the first step of your email sequence.
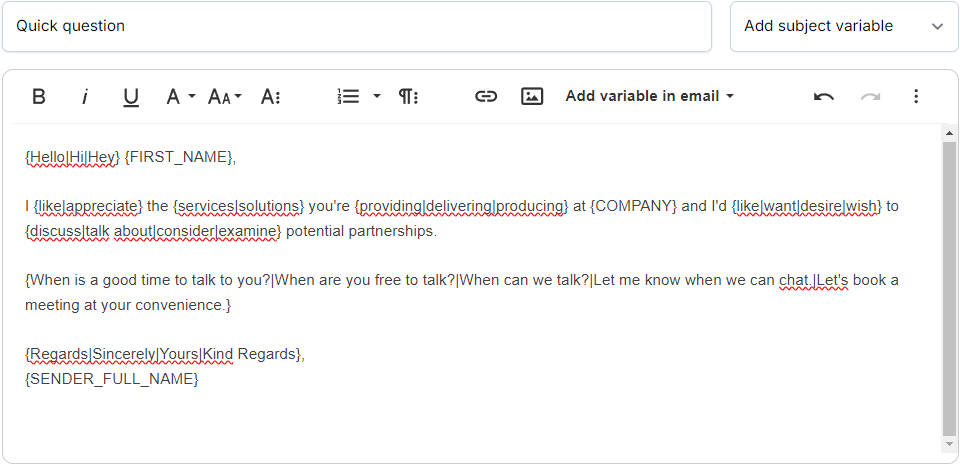
Use spintax in the format of {Hello|Hi|Hey} to randomly select phrases in every email.
You may use pre-defined variables- associated to the contact email or the sender email.
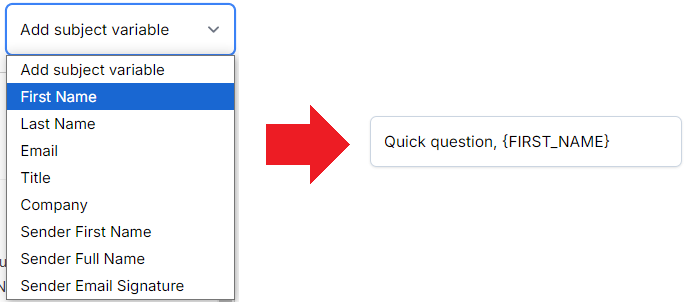
To add variables to the subject, click Add subject variable and select from dropdown.
To add variables to the email, click Add variable in email and select from dropdown.

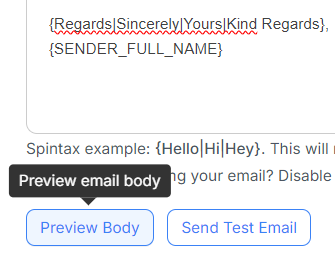
Click Preview Body.
A preview of how an email could look like to a recipient will be displayed.
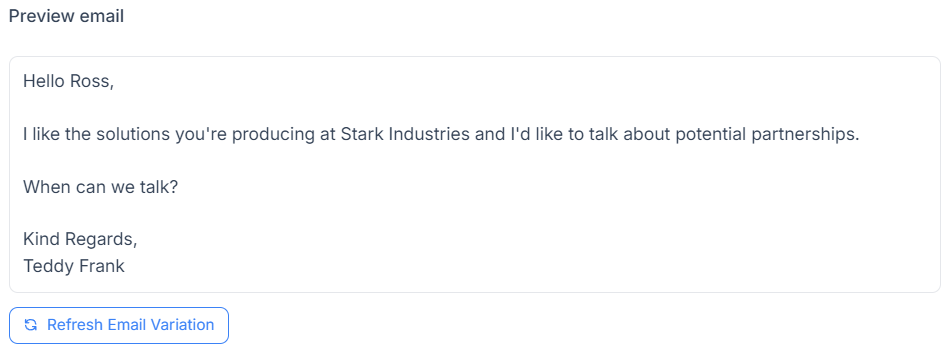
Click Refresh Email Variation to see alternative emails based on the spintax.
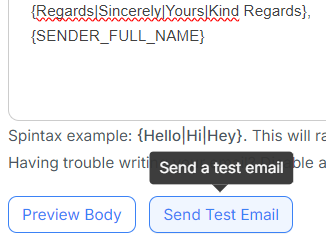
Click Send Test Email.
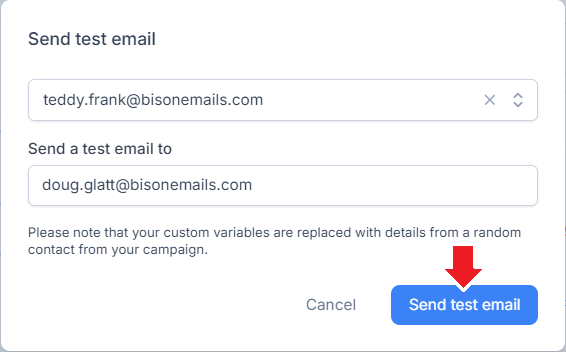
Select the sender email and the email account to send a test email to.
Auto-saving the email is enabled by default and the time of saving is visible at the top right of the screen. To save manually, click Save Email on the bottom right.
To undo or redo changes to the email, click their respective icons on the top right.
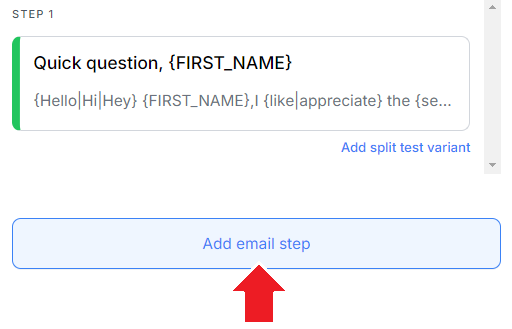
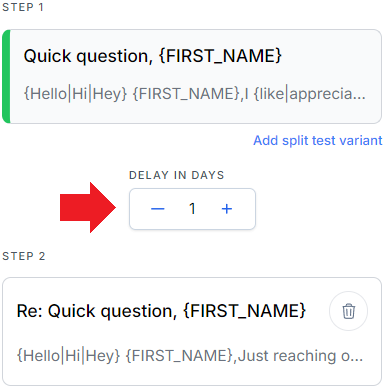
Click Add email step at the bottom of the left section.
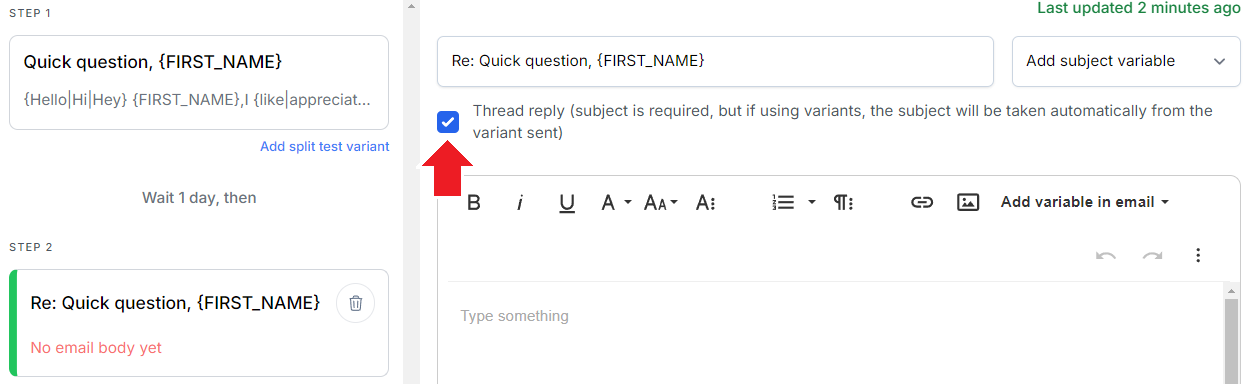
The email step will be defaulted to a thread reply, with the subject of the variant initially sent. You may toggle thread reply on or off.
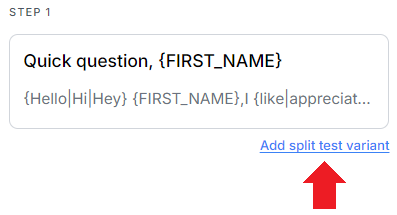
To add a variant, click Add split test variant below the step you wish to create a variant of.
To remove a step or variant, click the delete icon on its card.

To set the delay between email steps, click the parent step after which the delay will occur first. Acceptable values are between 0 and 21 days.
Click Choose from template
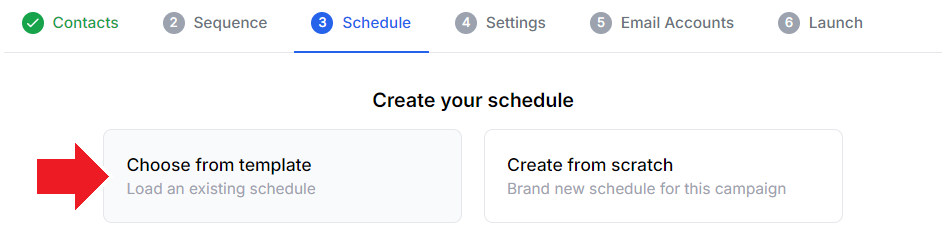
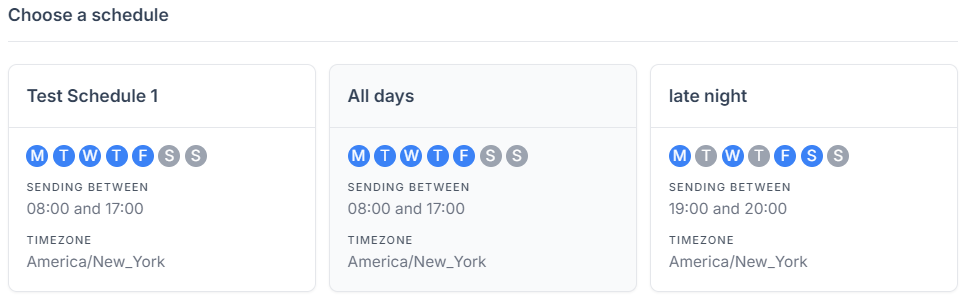
Click to load an existing schedule.
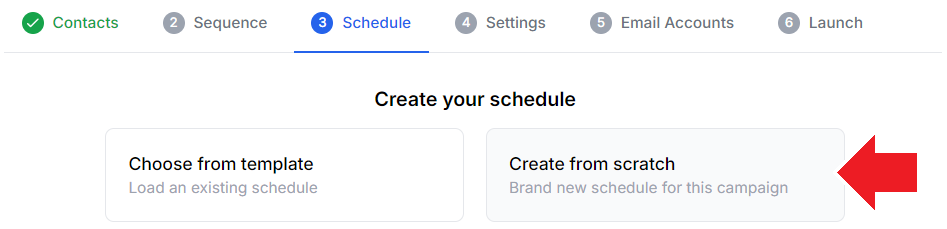
Click Create from scratch to create a new schedule, defaulted to weekdays 8 AM to 5 PM EST.
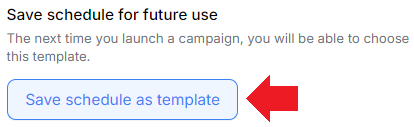
Click Save schedule as template
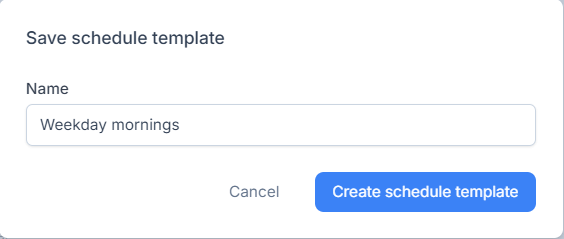
Enter a name and click Create schedule template
Update and confirm the settings for the campaign.

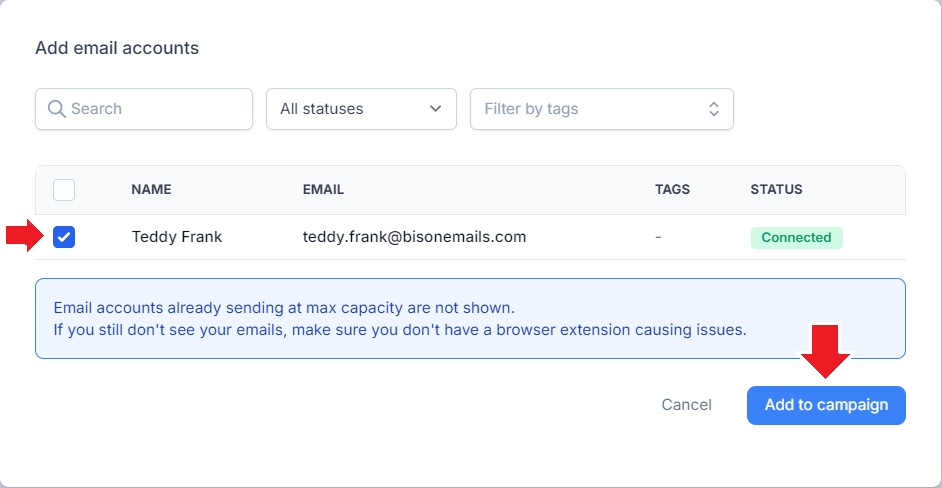
Click Add email accounts

Select the email accounts and click Add to campaign
To remove any email accounts, click remove.

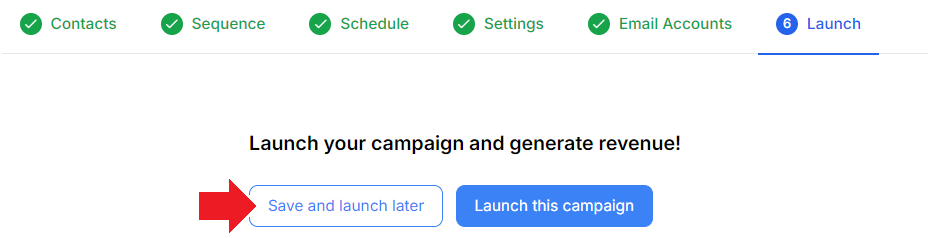
To launch a campaign, click Launch this campaign.
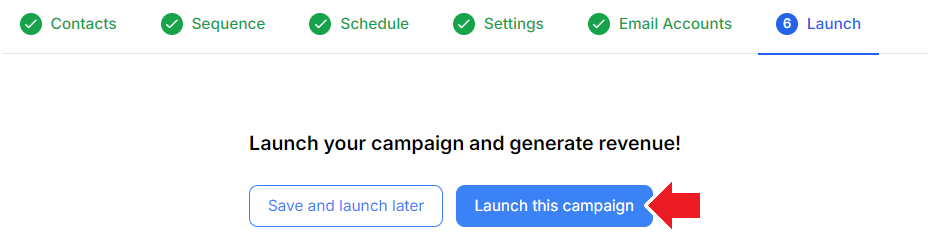
To save the campaign as a draft and launch it later, click Save and launch later.
Relevant articles:
